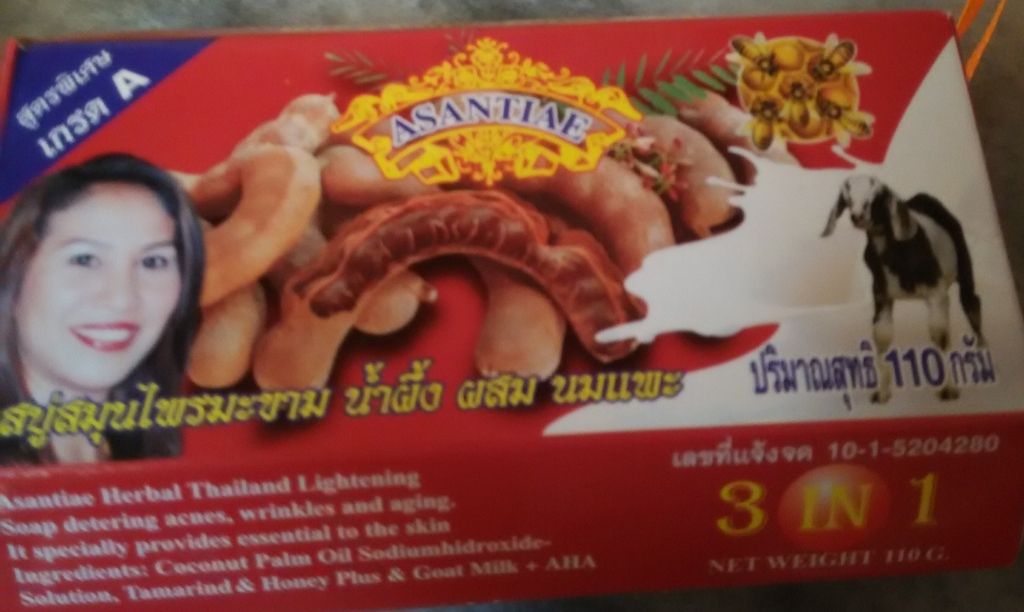
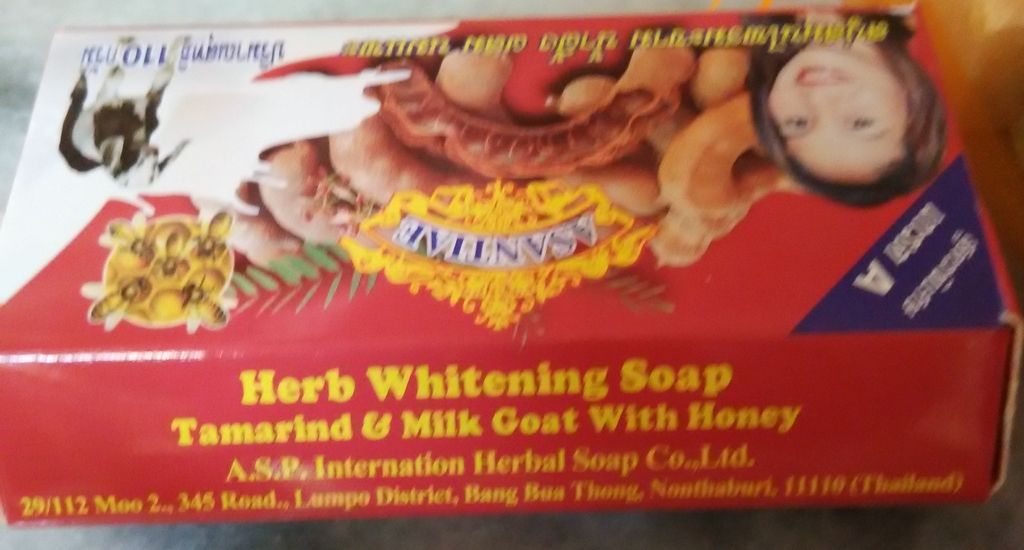
Two weeks ago, I joined a soap making workshop without a clue of what I was getting myself into. The experience proved significantly inspiring. So intrigued was I by the experience that the next few days were spent researching the art of soap making; or rather the chemistry, for soap-making is a chemical reaction known as SAPONIFICATION. The process is riddled with many dos' and don'ts, sufficient to last a few lifetimes. My ultimate conclusion was that soap-making wasn't quite as dangerous as it was made out to be although one should ensure that proper research are done and Prudence, let Prudence be given a front seat in the grander scheme of things.
PROCESSES
The three methods for soap-making are:
- Melt and Pour (using *soap base)
- Hot Process
- Cold Process
MELT AND POUR
... is a method using melted soap bases. These are soaps made with lye and oil without additives and may contain dodgy chemicals added by their maker. Additives are introduced into the melted soap base and the concoction poured into moulds.
HOT PROCESS
... is quite similar to Cold Process except that the soap is further heated in a crock pot, thus speeding up the process. Soaps made this way require shorter curing period.
COLD PROCESS
Having researched the three processes above, I decided to make my soap from scratch. This meant I had complete control over what goes into my soap. Instead of the Hot Process which required hours of standing by a crock pot, I'm going for The Cold Process, which is a lot simpler.
HERE'S WHAT YOU NEED TO KNOW BEFORE YOU START.
BASE
... is what you get after dissolving the lye in a solvent. Water is the common solvent but breast milk or goat milk works too. A 10% additional weight is used in the case of milk.
LYE
... is NaOH (Sodium Hydroxide) also known as Caustic Soda. It is corrosive and best handled with some respect. Measurements for the ingredient had to be precise. If your weighing scale will not take two decimal, round down instead of up when weighing out lye.
Example: Where 49.987 gm Lye is required, it is prudent to measure out 49 gm instead of 50 gm for it is far better to have less lye although you do need enough for saponification to complete. Too much solvent and acid meant that the softer soap required a longer time to dry/harden but too much lye meant that the soap is unsafe for use since there are lye remaining in the soap which had not fully reacted with the oil.
Suffice to say, you can't make soap without lye but there are no lye in soap as long as you kept to the appropriate measurement. If you would like to circumvent the lye risk, work with soap bases.
The proper way to dissolve lye is to add them, a little at a time, to cold water. Keep stirring until they are completely dissolved. The solution turned cloudy and heat is generated indicating that some chemical reaction is taking place. It appears that this heat is caused by the hydration of Na+ and OH- ions but really, understanding heavy stuff such as this is beyond me. Toxic fumes are emitted at this point although the chemical formula showed no traces of gas. All the same, where's the harm in putting up with a mask? After the lye is completely dissolved, the cloudy solution turned clear again.
To protect ourselves from the corrosive lye, rubber gloves and safety goggles are the order of the day. Some Soapers are fastidious about safety issues while others poo-poohed the entire hoo-ha. "A little splash of lye won't harm you", they argued. "Just wash them away with water."
I'll leave you to be the judge of that.
ACID
... is the mixture of oil and fats. If fats are used, they need to be heated up and then cooled down before adding the base. Different oil have different saponification value. This affects the quantity of lye and solvent required for the process. Also, if the soap is made from 100% olive oil, it becomes soft and gooey. Oil to be used must be pure and not blended with other oils. Some oil available at the grocery are blended with other oils so it is important to read the label.
Measurements for the ingredient had to be precise. If your weighing scale will not take two decimal, round up instead of down when weighing out oil and solvent. Excess oil in the soap is known as Super-Fatting. (See below.)
It is the same logic that less lye is better than more. Go figure!
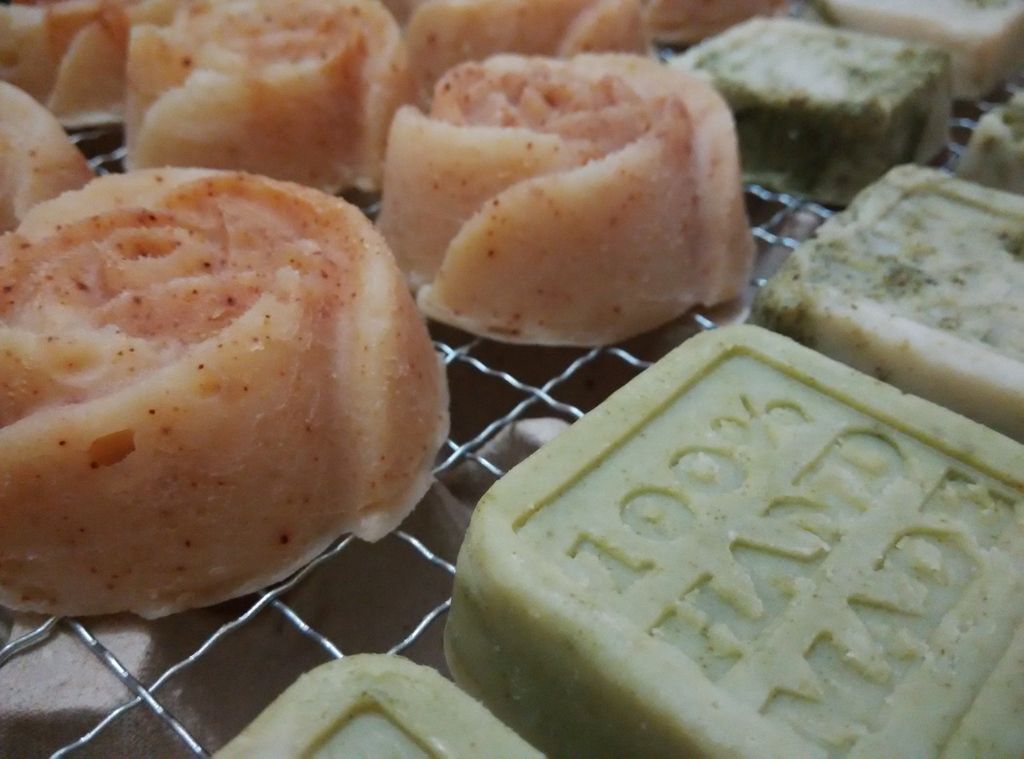
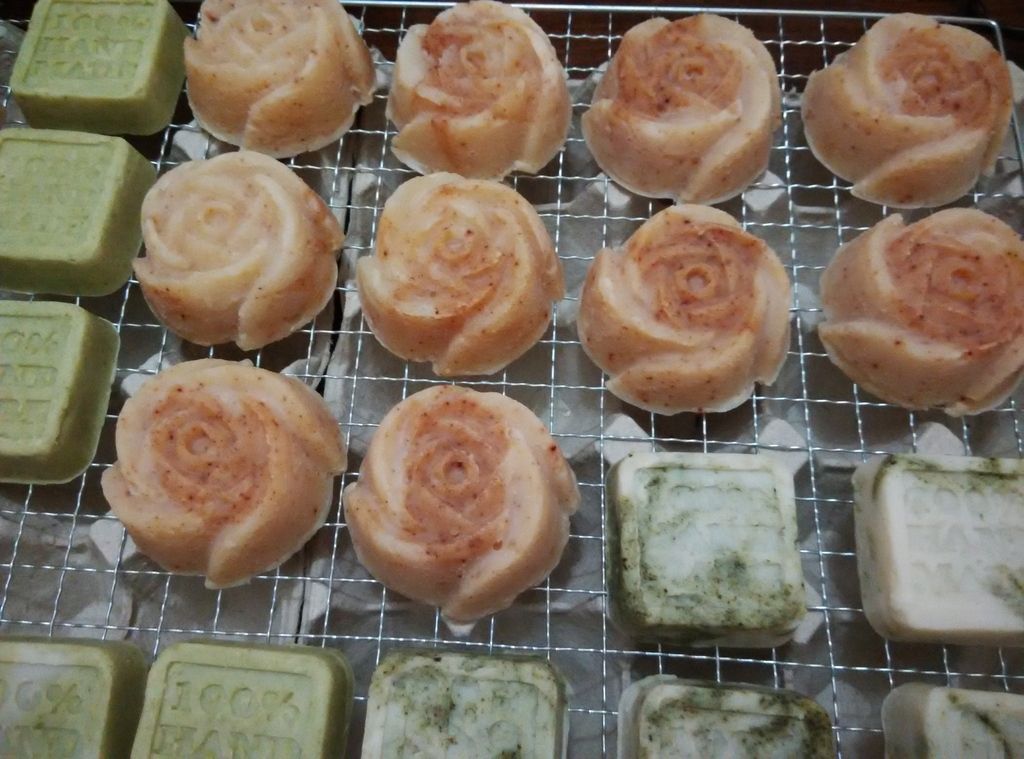
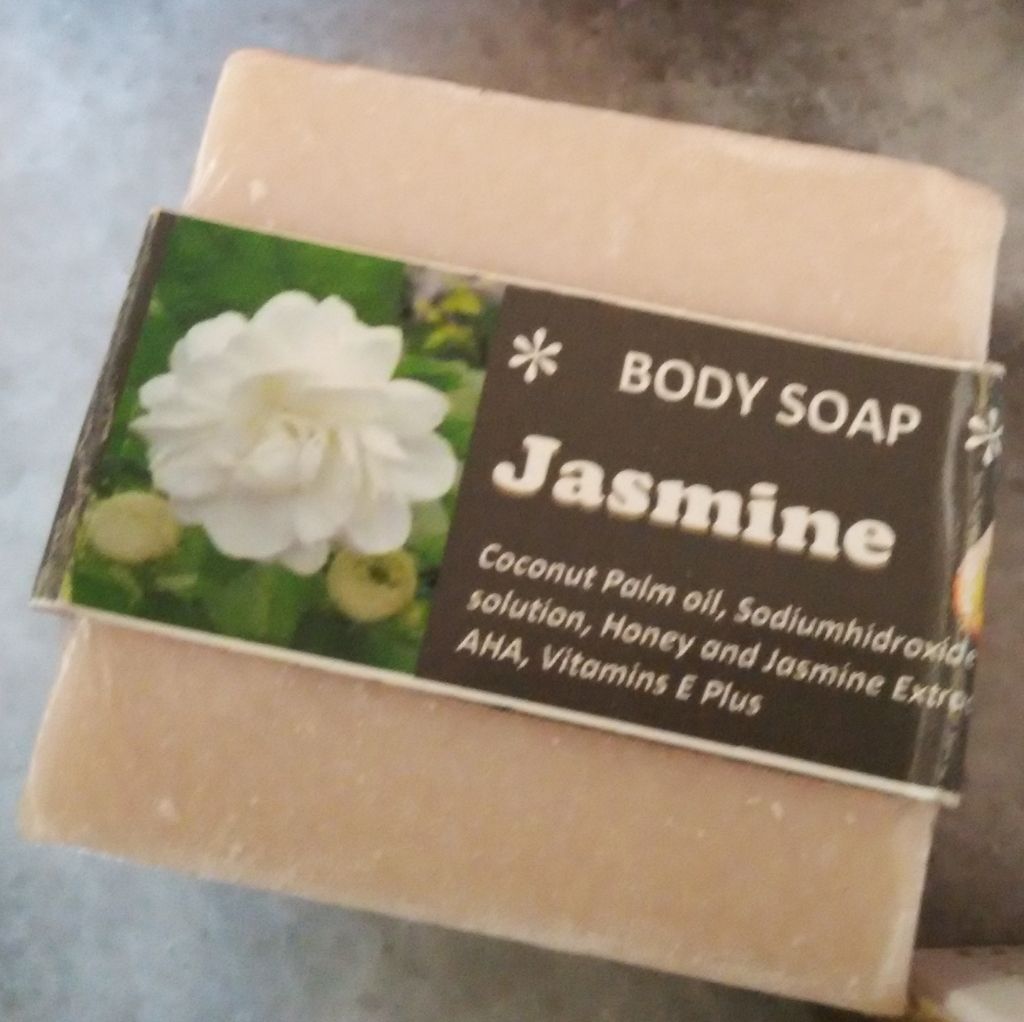
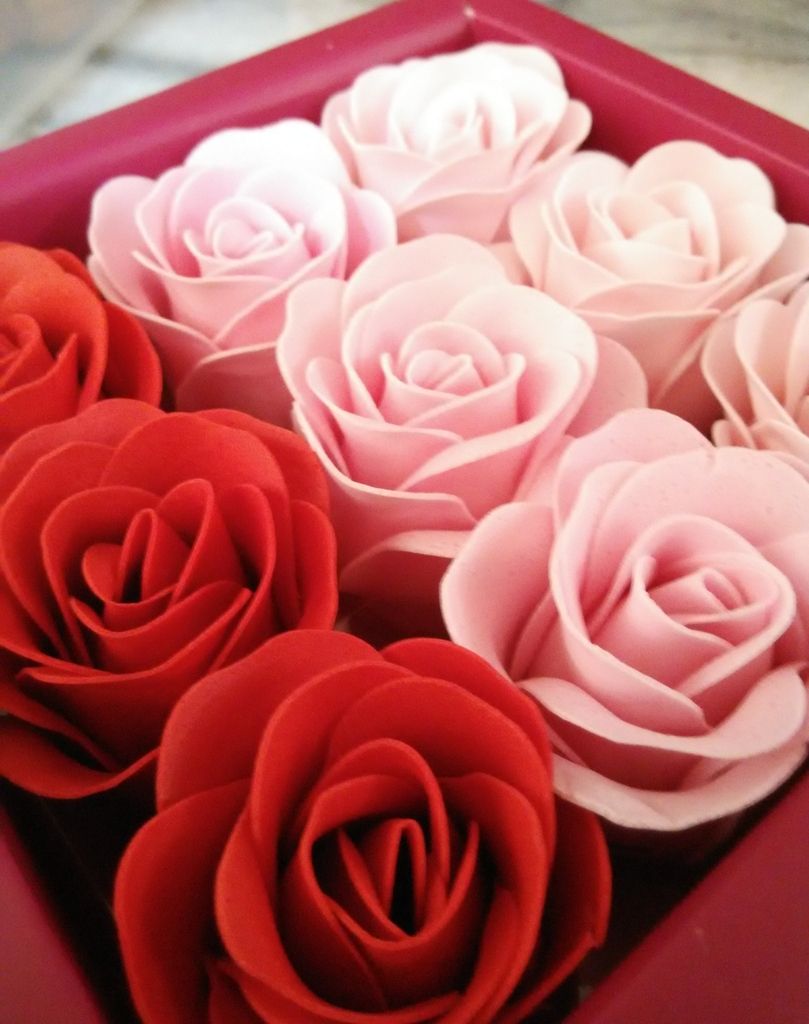
OPTIONAL ADDITIVES
- 100% essential oil (not fragrance oil)
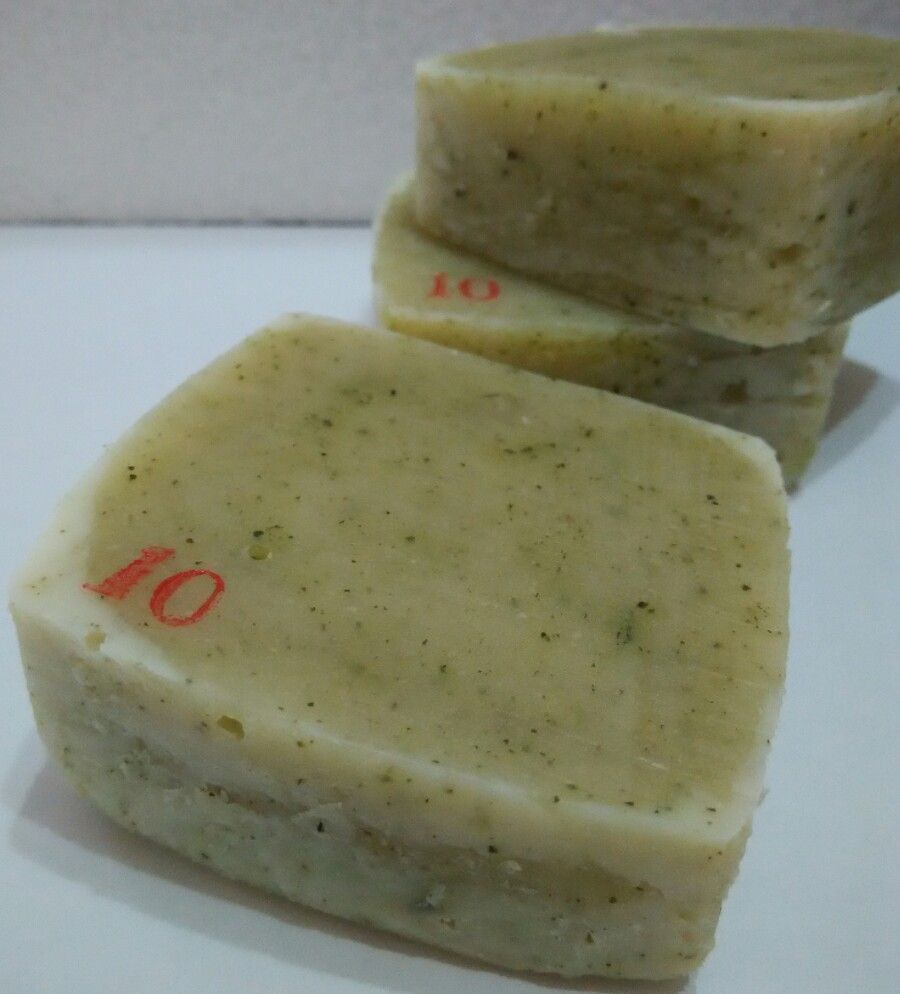
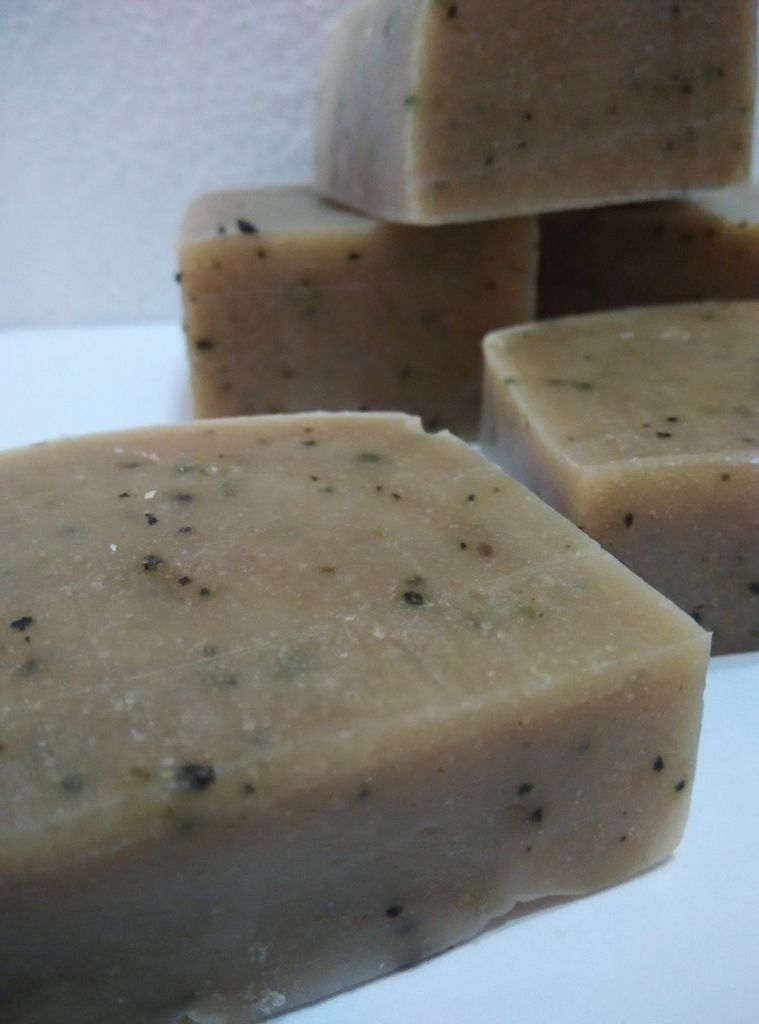
- Plant powder / extract (Eg. Hibiscus Powder, cinnamon, turmeric)
- Exfoliant (Eg. Oats)
|
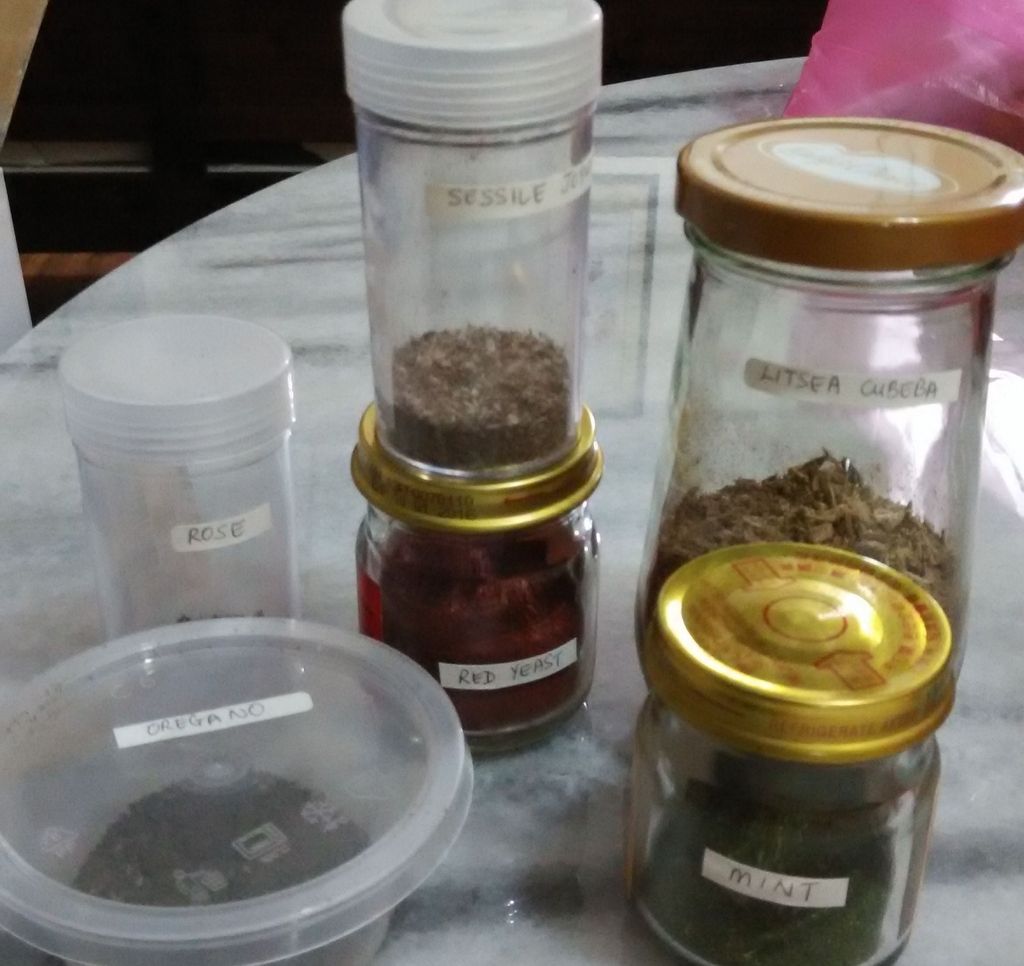 |
Some common plant powder
|
|
WHAT YOU NEED
- Stainless Steel or Tempered Glass Bowl. All others are best avoided. Personally, I prefer a stainless steel bowl simply because it cooled the base a great deal faster than glass.
- Stainless steel spoon with long handle to prepare the base.
- A second bowl for the acid. (oil)
- Egg Whisk or stick blender. (The former will take 45 minutes of brisk whisking. The latter ... oh... about 2 minutes or more)
- Silicone spatula to scoop the soap into ...
- ... silicone moulds. (Or empty milk carton rinsed with 10% Clorox in water, to kill germs)
- Cardboard to be placed over the mould.
- Paper tapes for sealing
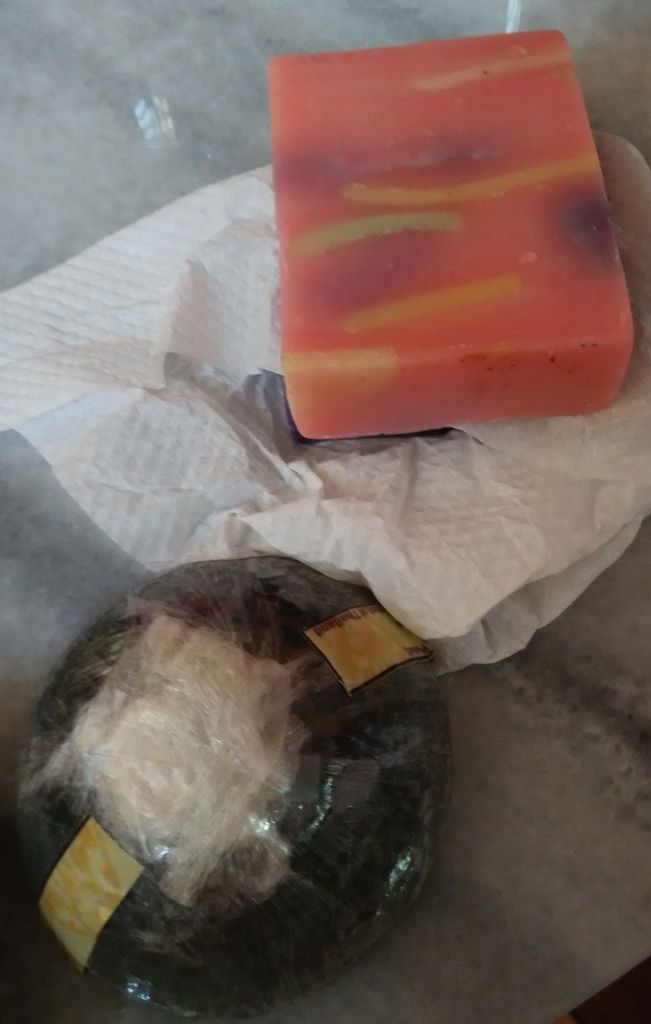
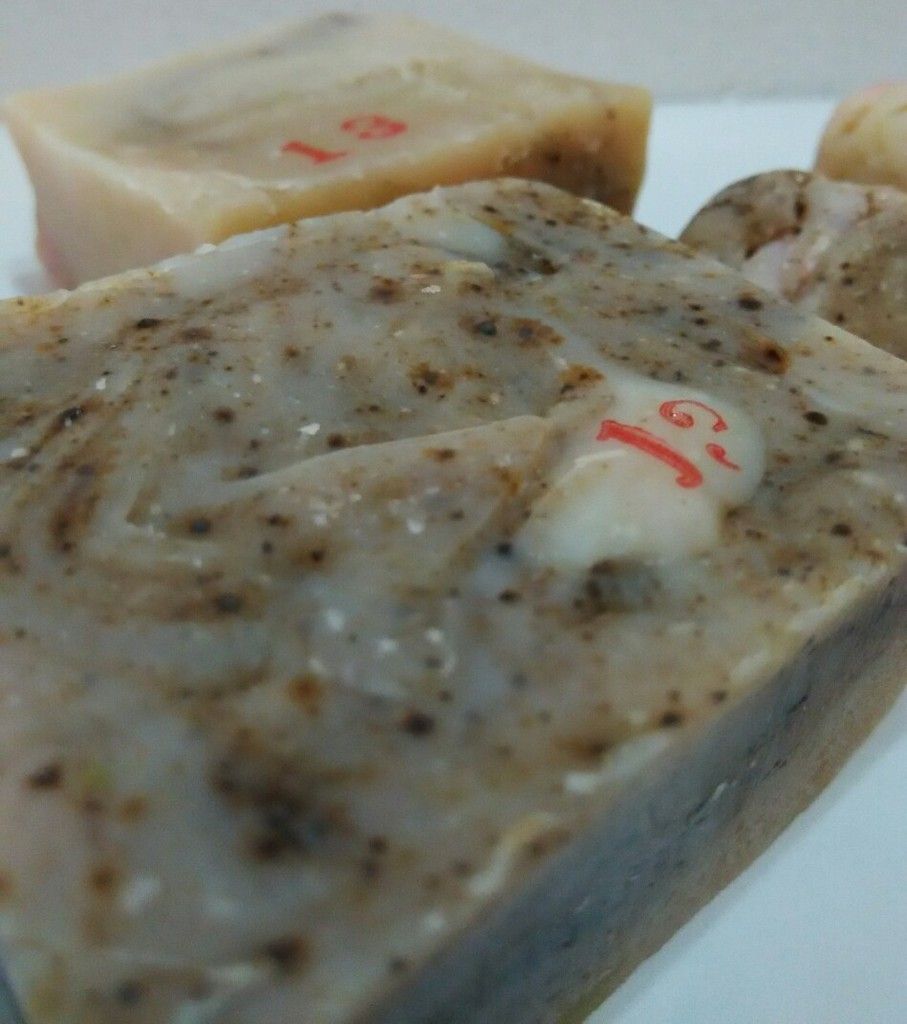
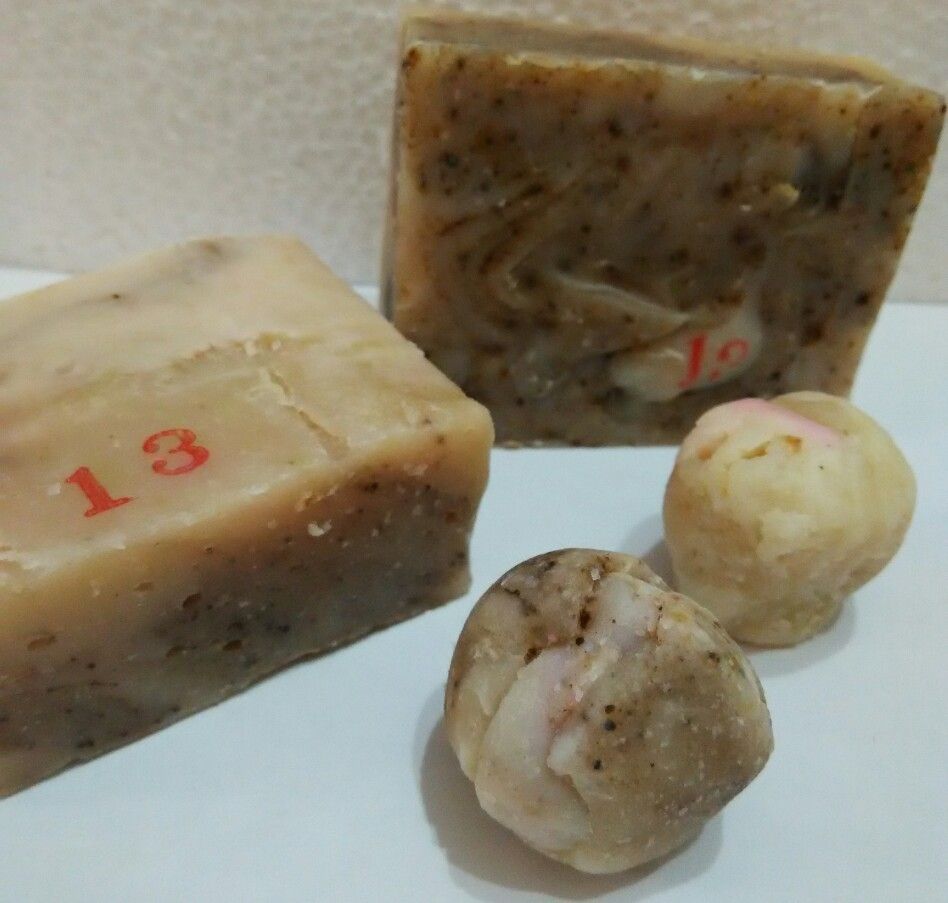
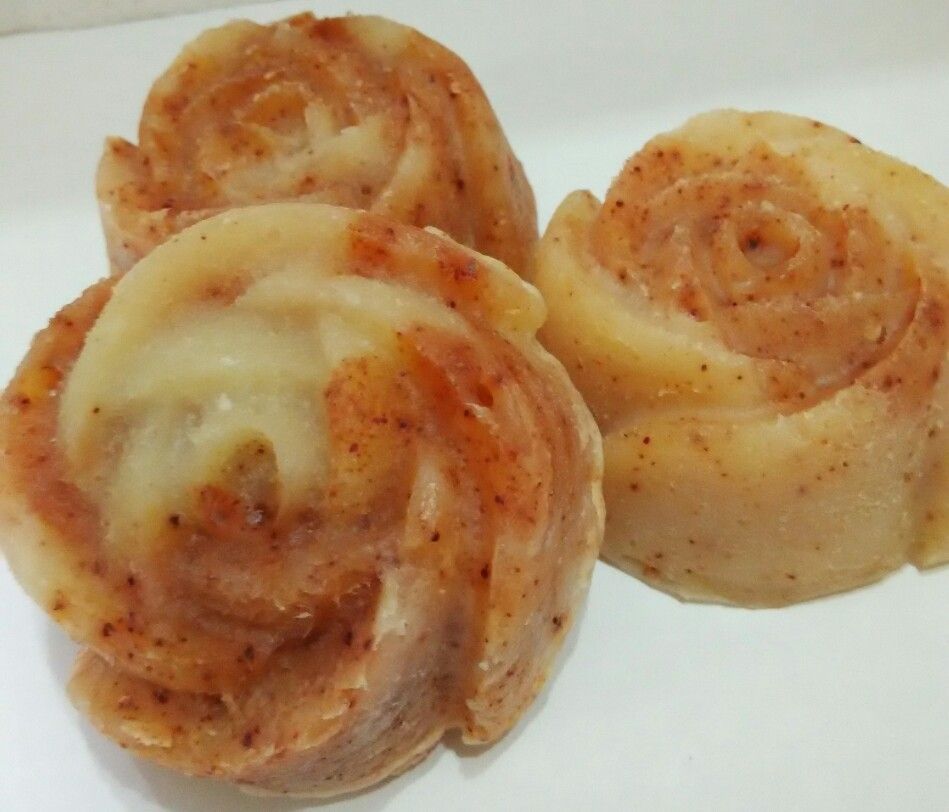
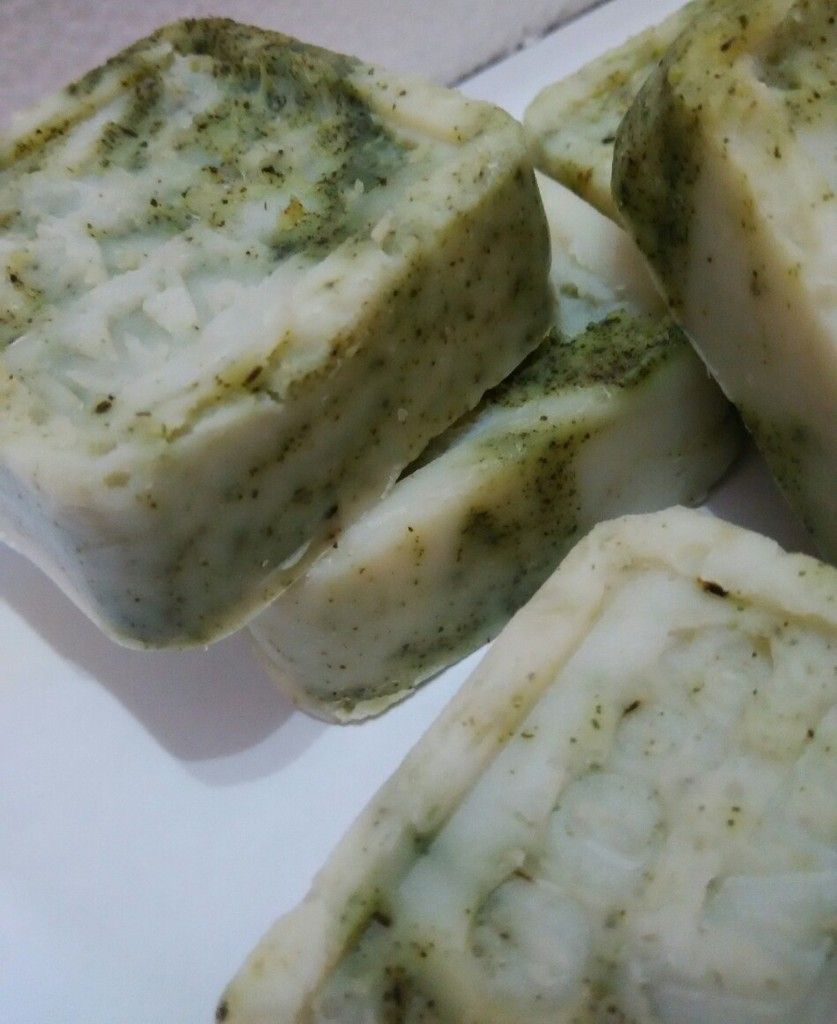
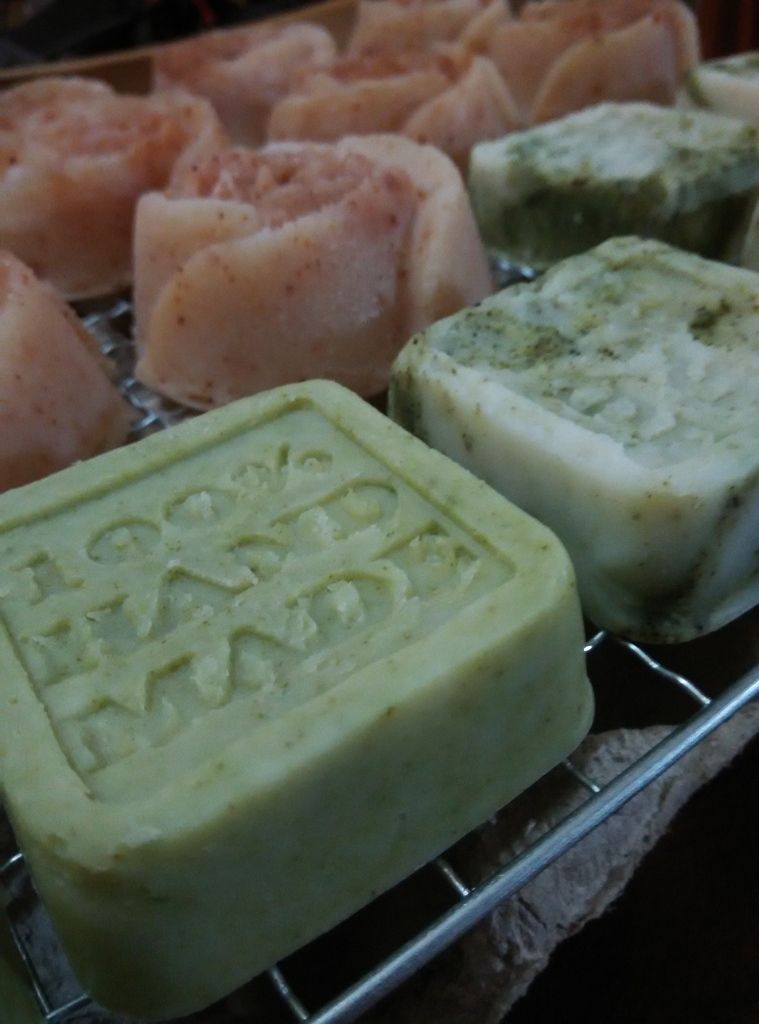
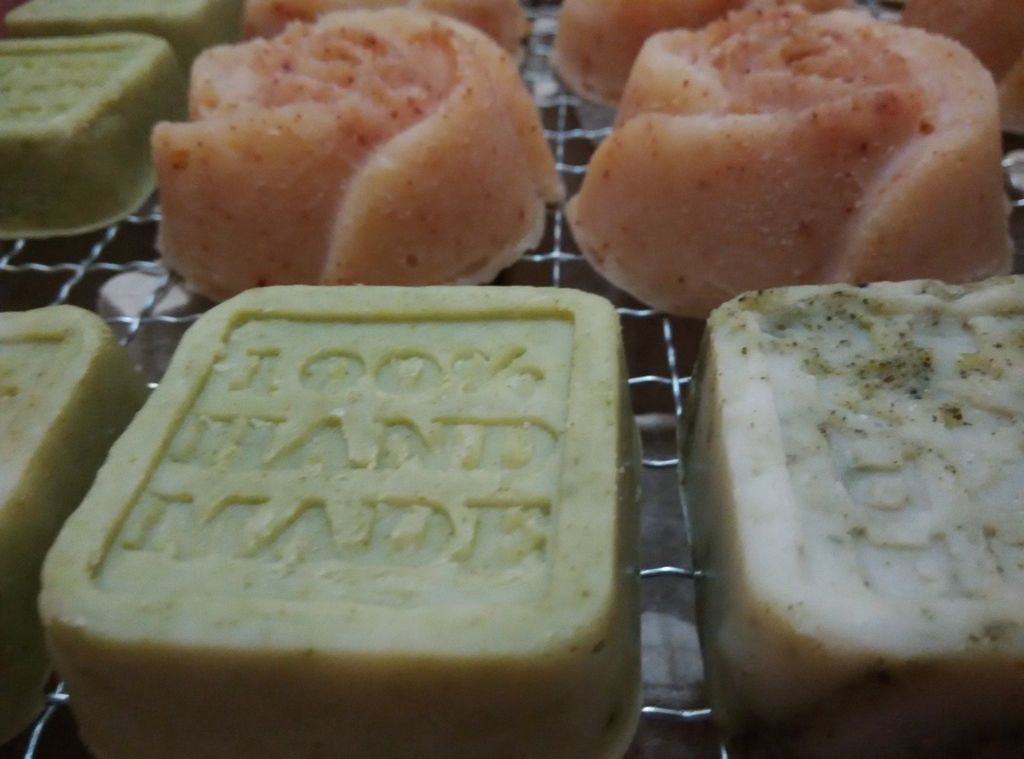
 |
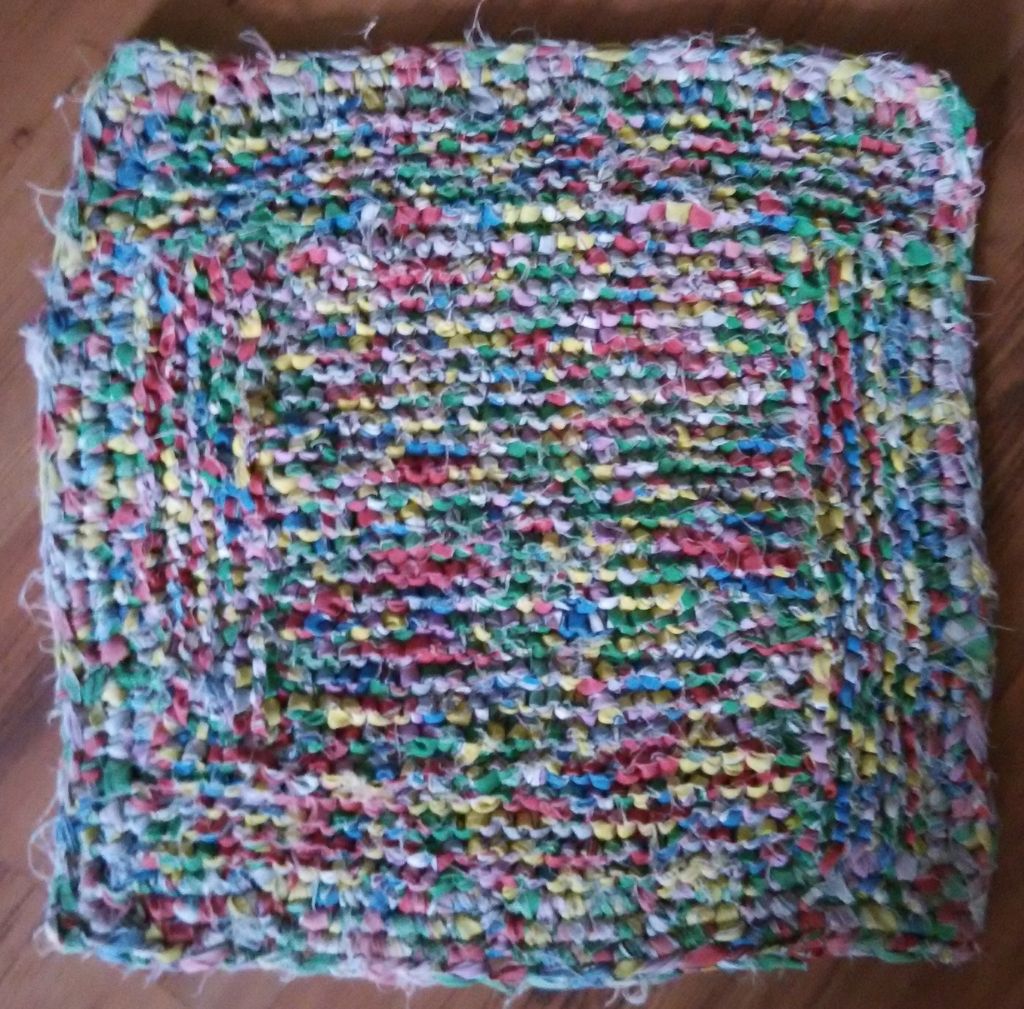
| Soap Batch No: 2 |
|
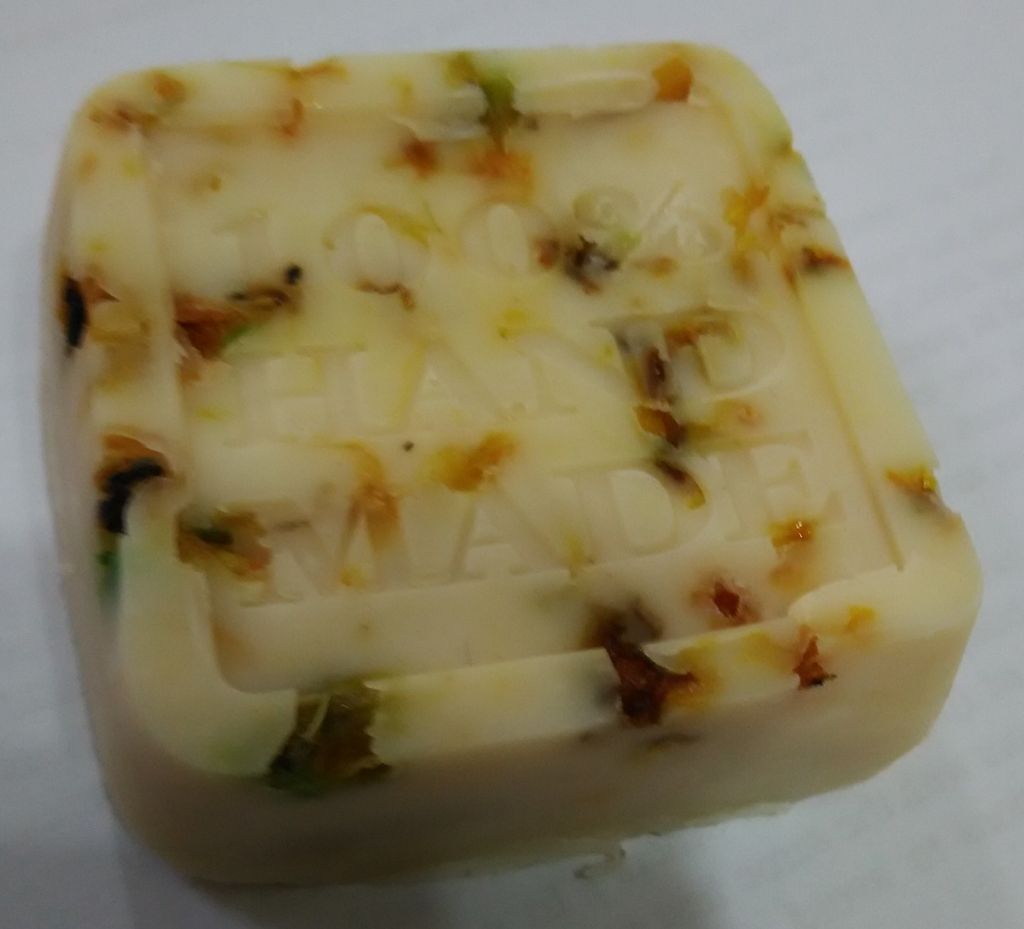 |
| With dried roses and butterfly pea |
|
 |
| loaf mould |
|  |
 |
| Soap Batch No: 1 on the far left. Batch No: 2 on the right. |
 |
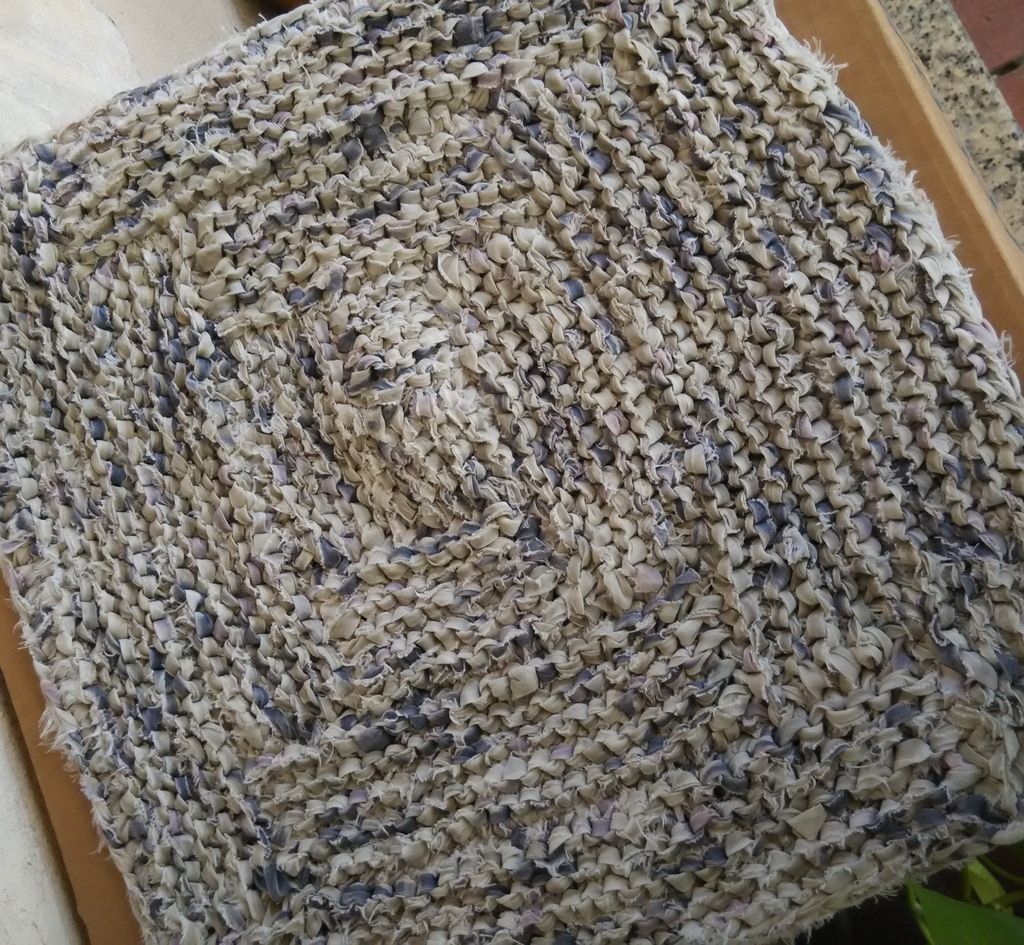
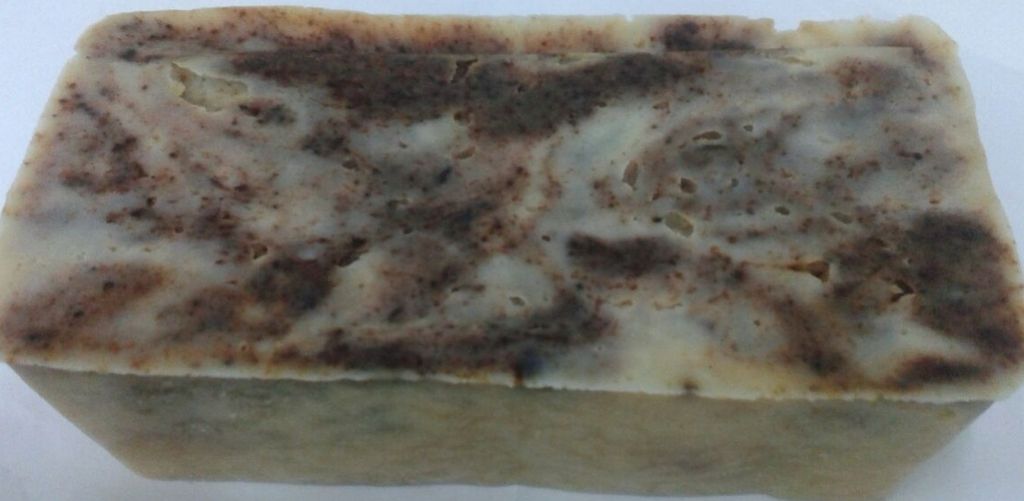
| Batch # 3 |
|
 |
Lavender
Lulur |
|
SOME CONCERN ABOUT THE PROCEDURE
Now at the workshop, the instructor taught us to add the acid (oil) to the base. Fellow Soaper, Ms Aneres (not her real name) raised some concern about this so I gave the procedure some thoughts.and surmised that it should be the other way round, i.e. base to oil. But let me explain ....
We know that the measurements for the soap had to be precise. That's why various online calculators are available to help you derive how much water or lye is required for a specific batch. Every soaper will tell you the lye factor. So, just think. If you pour the oil to the base, some oil will be left behind in the container. May not be much but it will affect the lye content. There won't be enough oil to react with the lye. Logical?
More research was in order and not a minute too soon. It appears that the instructor at the workshop made a mistake. You do not add the oil to the lye.
So the rule of thumb. Lye to the water. Lye solution to the oil.
INGREDIENT FOR MARSEILLES SOAP
252 g pomace olive oil
49 g coconut oil
49 g palm oil
136.15 g cold water
49.987 g lye
Optional:
- 15 drops Essential Oil
- 1 teaspoon Plant Powder
- Exfoliant
PROCEDURE (COLD PROCESS)
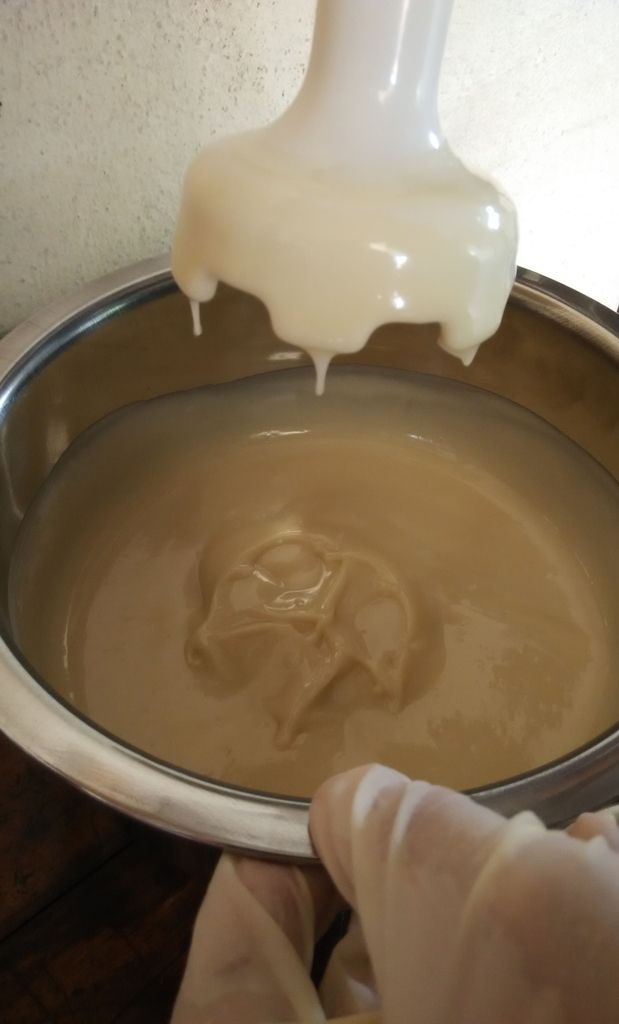
- Into the metal bowl filled with cold water, add the lye a little at a time stirring continuously until fully dissolved. (Base)
- Leave the base to cool to below 50 deg C
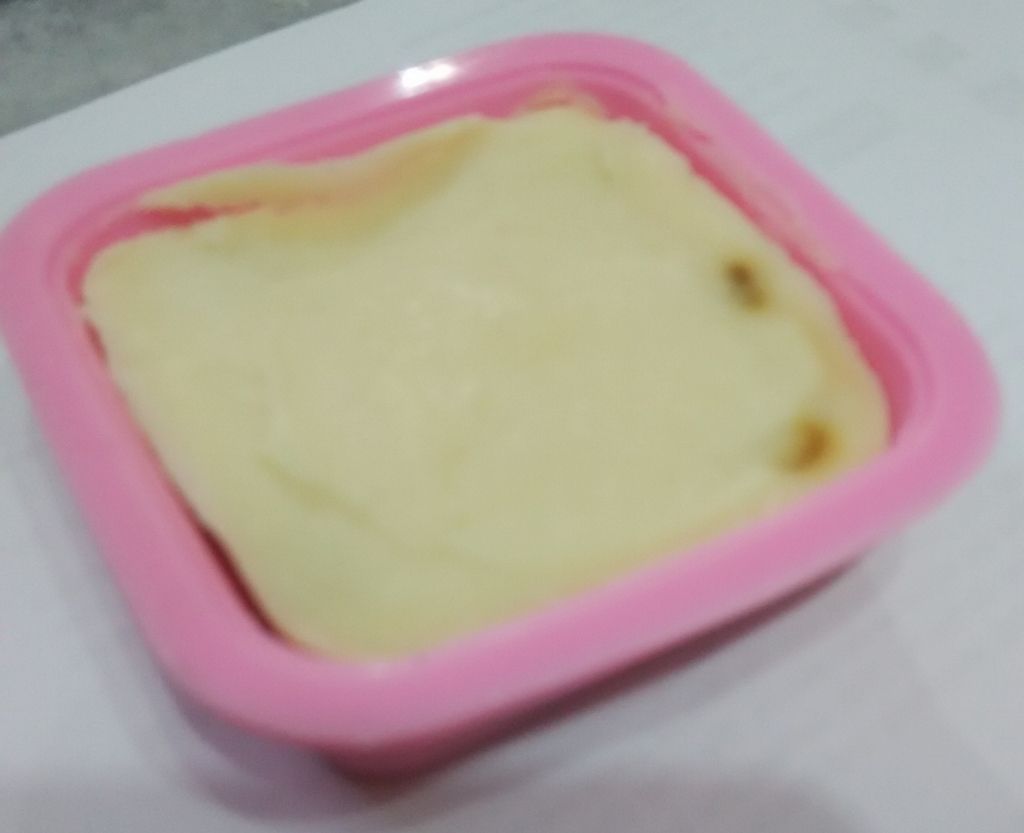
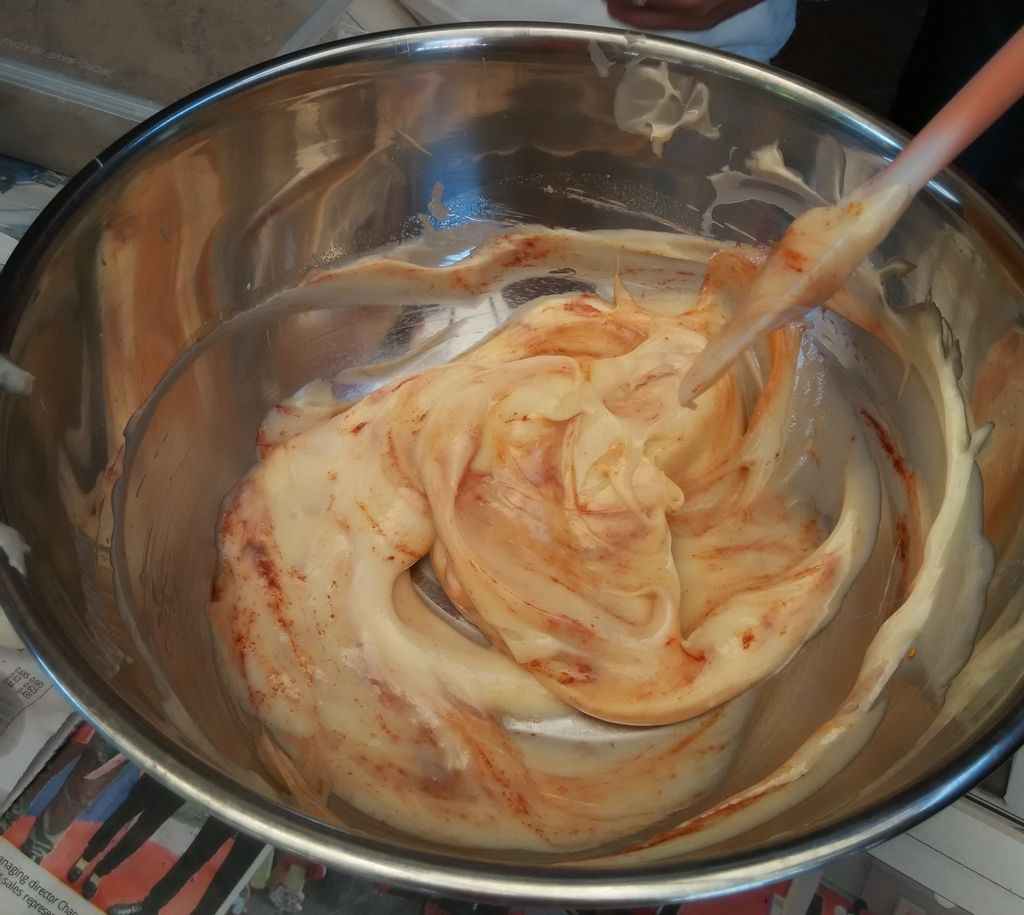
- Once cooled, pour into another metal mixing bowl containing the three oils. Whisk until pudding consistency (aka trace)
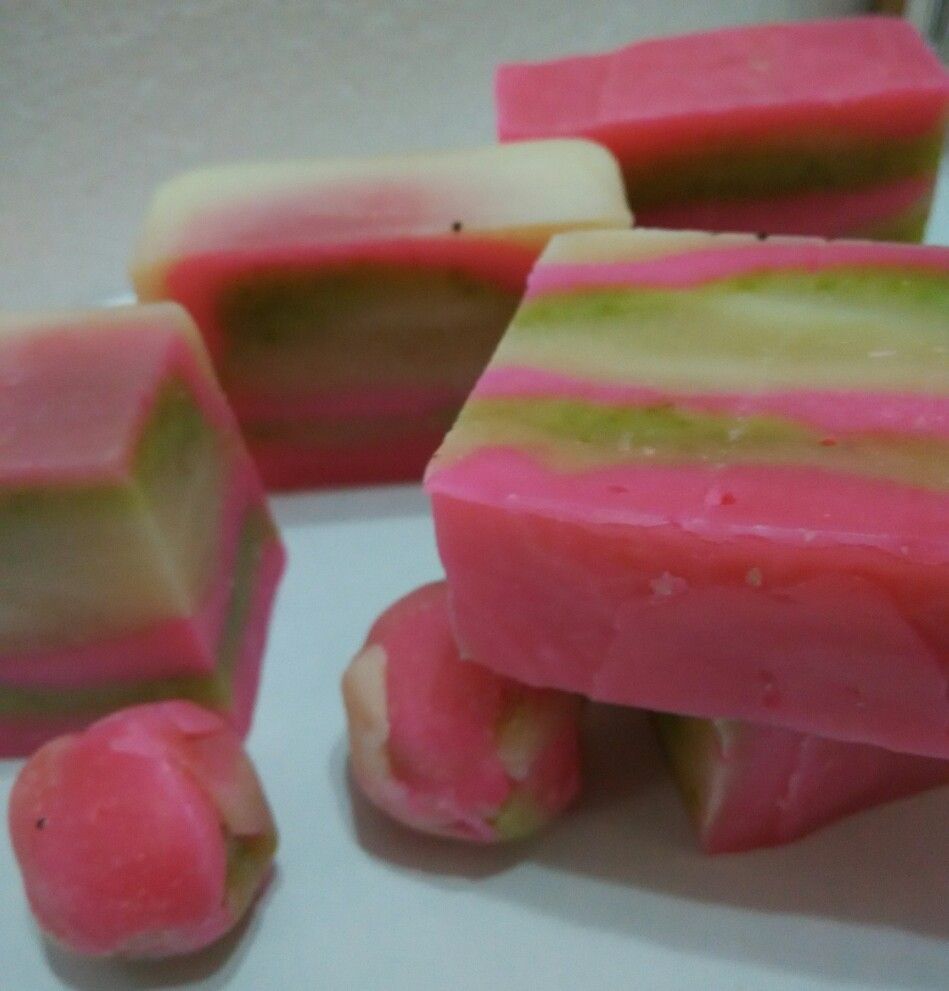
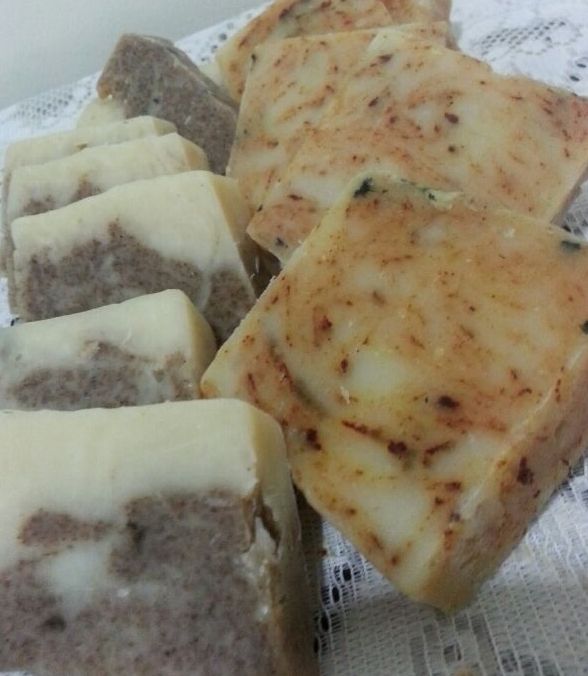
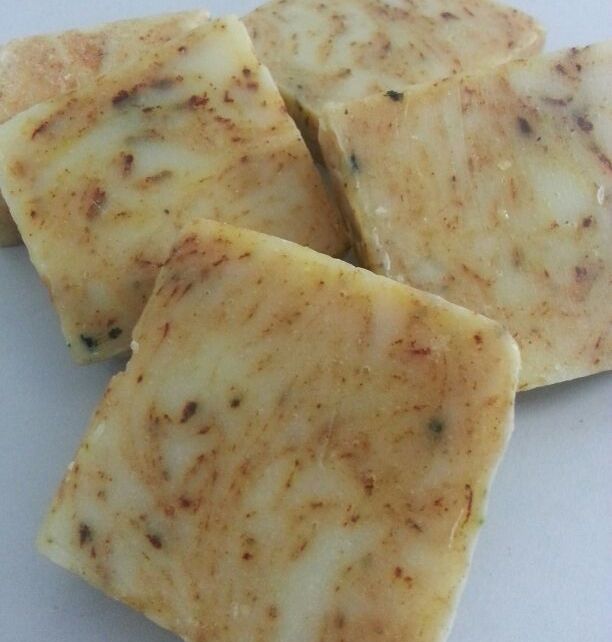
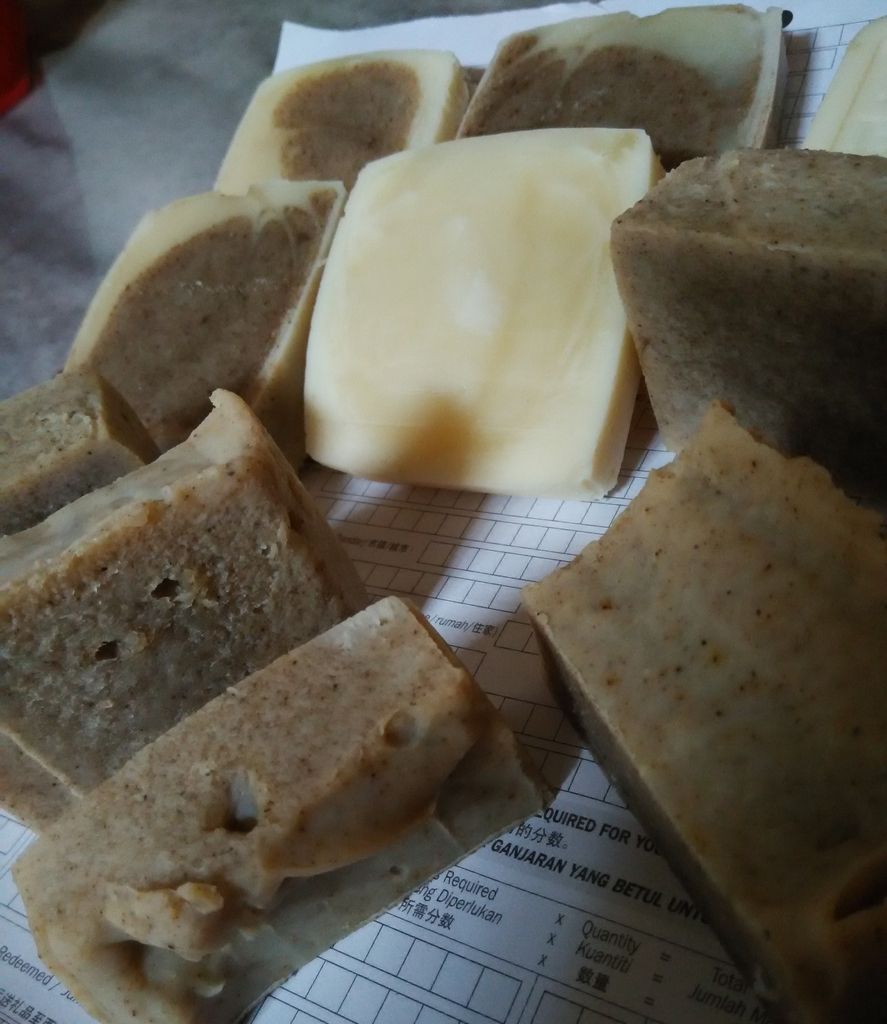
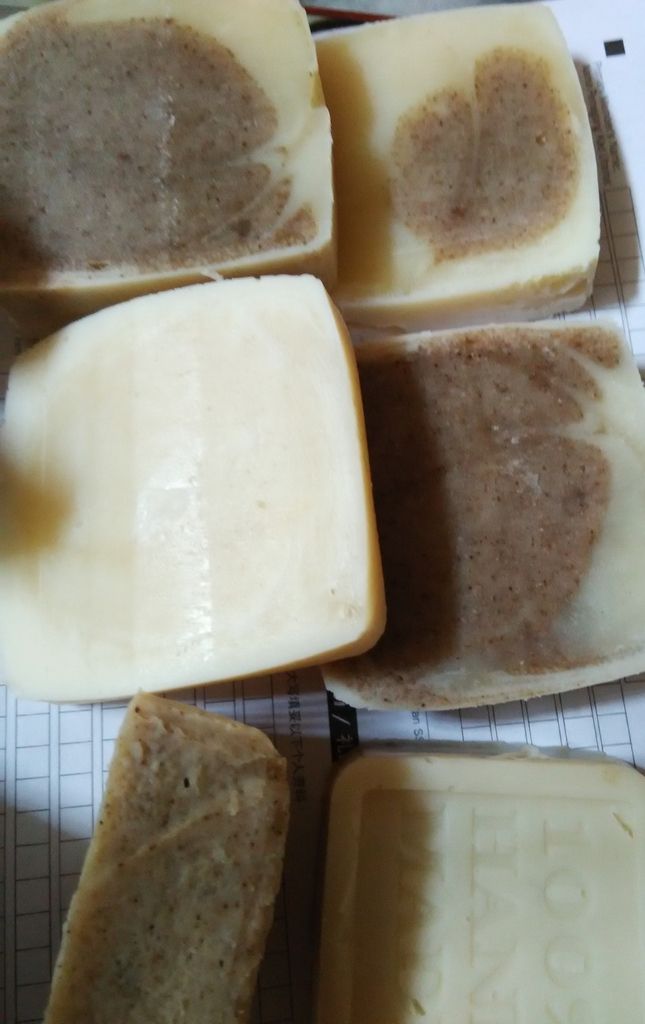
- Add Essential Oil / Plant powder / Exfoliant (optional). - Note: For marbled effect, pour half the soap into the mould after adding the essential oil. Stir the plant powder into the remaining half, pour these over the previous half already in the mould. Cut through the mixture to get the marbled effect. (It's a lot like baking a marbled cake.)
|
 |
| Trace |
|
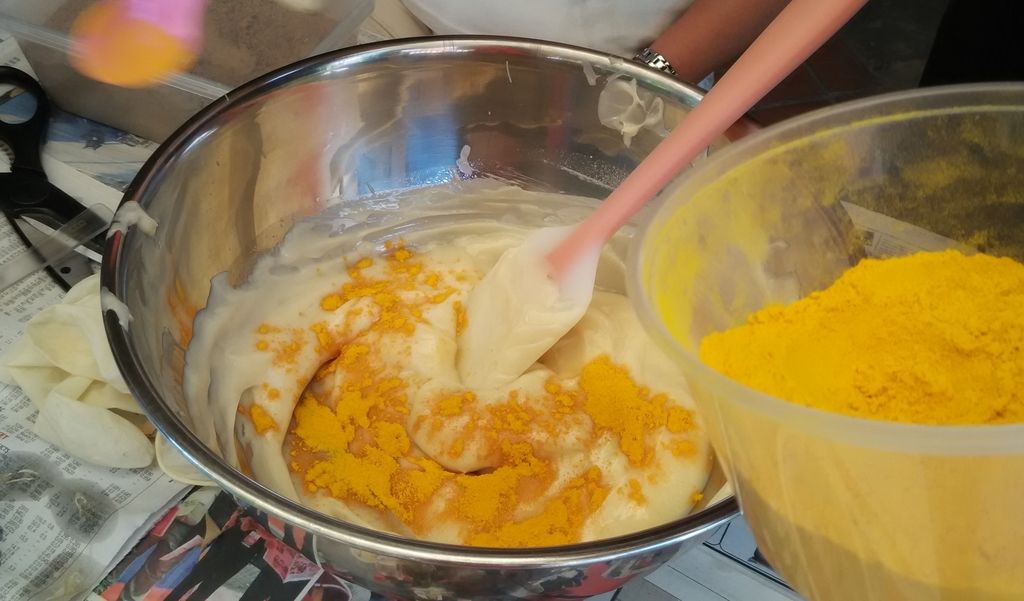 |
Stirring in turmeric
|
|  |
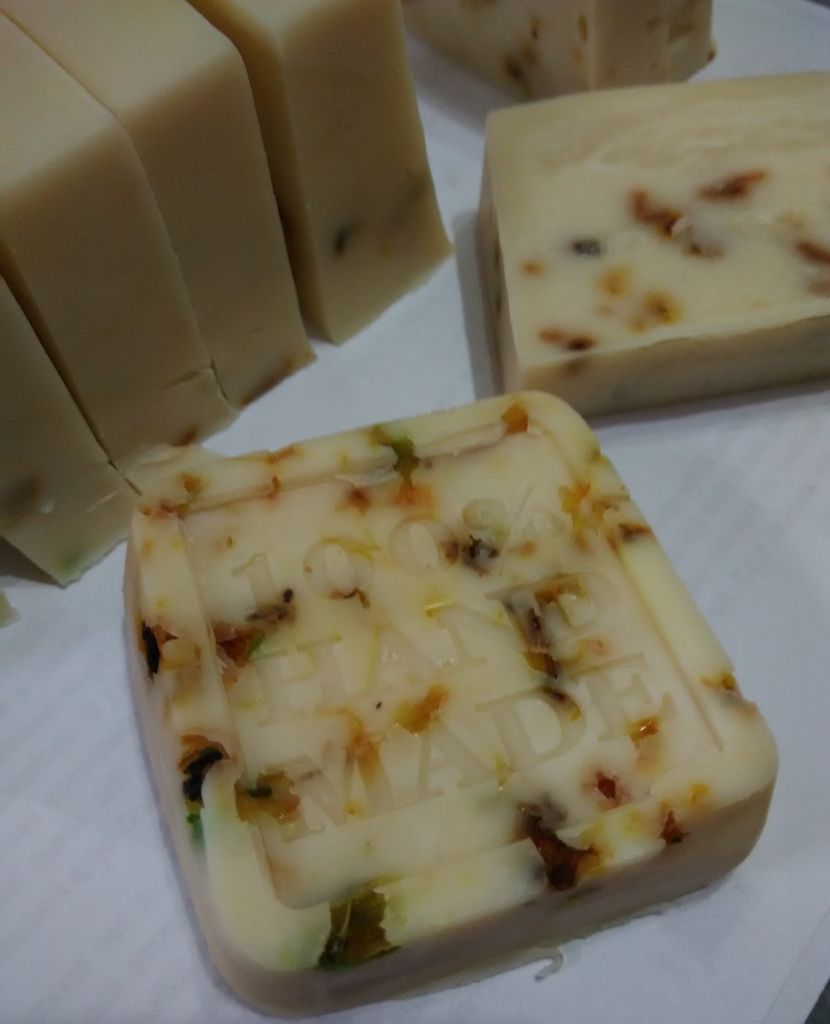
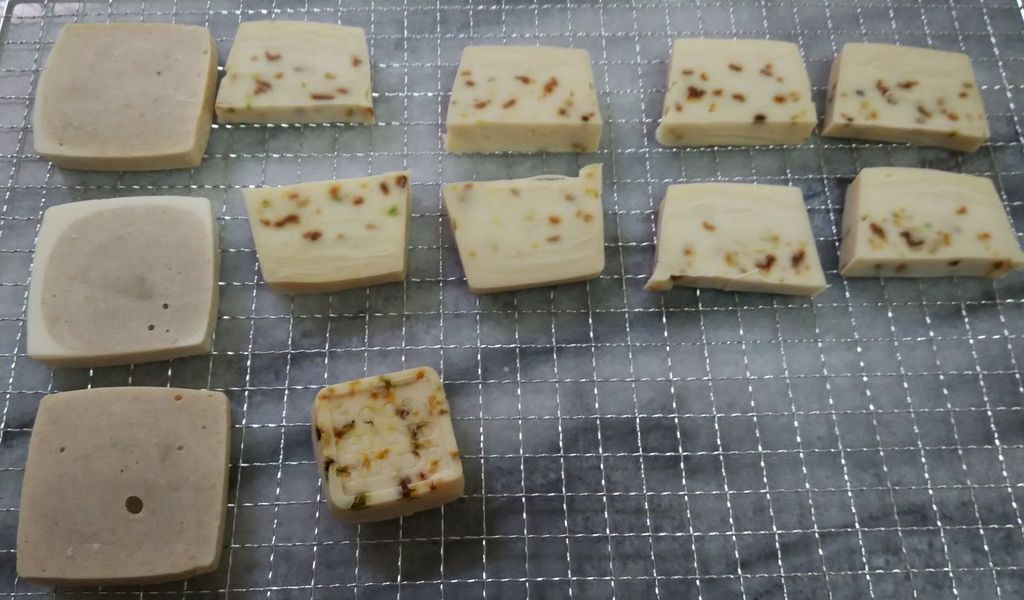
- Using a spatula, scoop the soap mixture into silicone moulds or empty milk cartons, seal off and leave to harden.
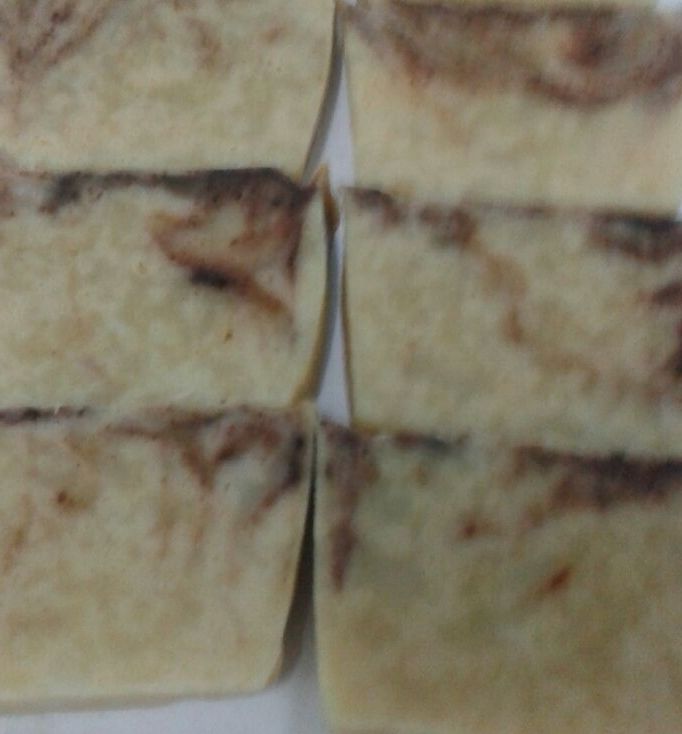
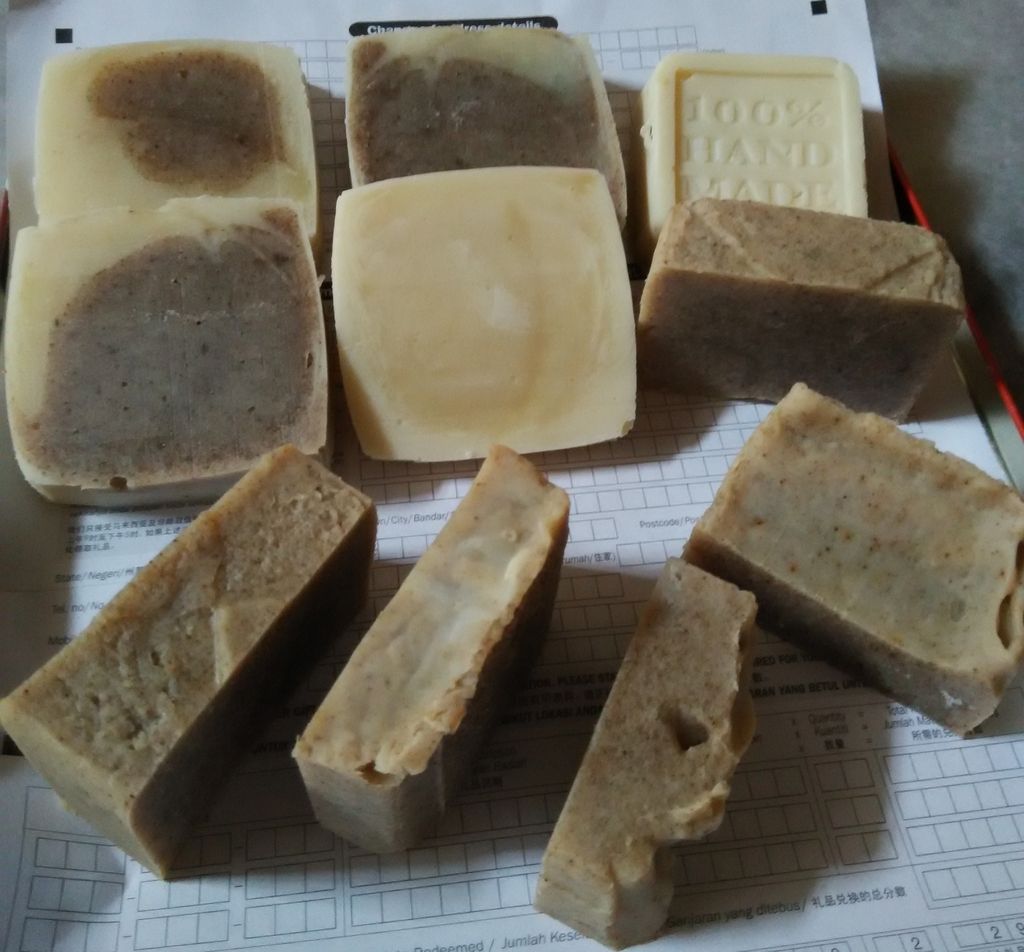
- After 24/36 hours, remove soap from mould and cut to desired size. By this time, the residue left inside the mixing bowl would have saponified and turned to soap. Clean up the utensils by pouring hot water into the bowl.
|
Neutralizes lye. Apply where necessary.
Can be used to clean up the utensils but first remove the residue with kitchen towels. An easier way to clean the utensil is to wait 24/36 hours for the residue to saponify. Pour hot water into the bowl and the soap residue slid off without a protest.
CURING PERIOD
Air dry the cut soap for between 4 to 6 weeks. The longer the curing period, the harder the soap and the richer the lather. The soap last longer too. According to Soap Tester Jac (not his real name), commercial soaps are subjected to a stability test of 90 days before they are released to consumer.
Accordingly, a lot depended on how much olive oil is in your soap. Those containing 100% olive oil will require a curing period of 6 months or more. That's what seasoned soapers say.
An online soaper sold her soaps before the curing period is completed. Her labels carried a cautionary note about the curing period. It was ignored. Buyers riddled her website with numerous complaints and she had to spend an eternity explaining the harm away.
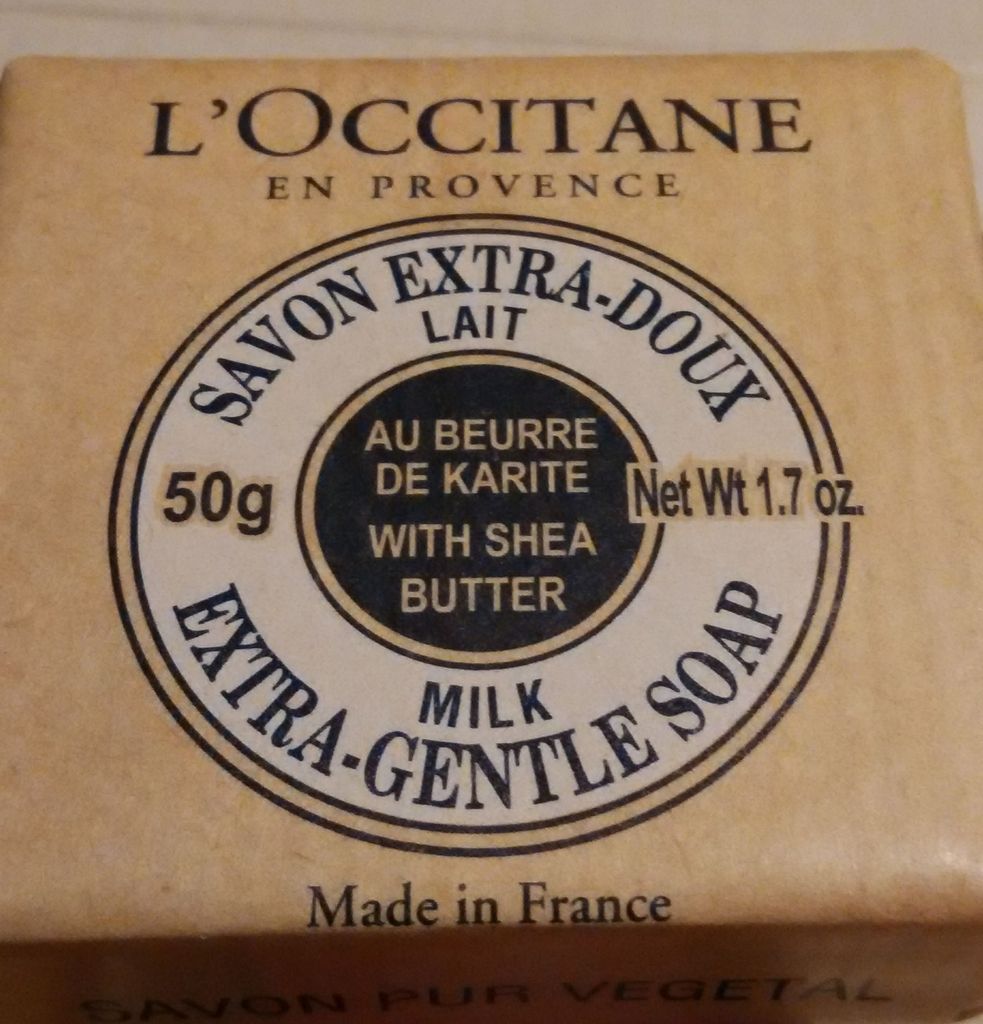
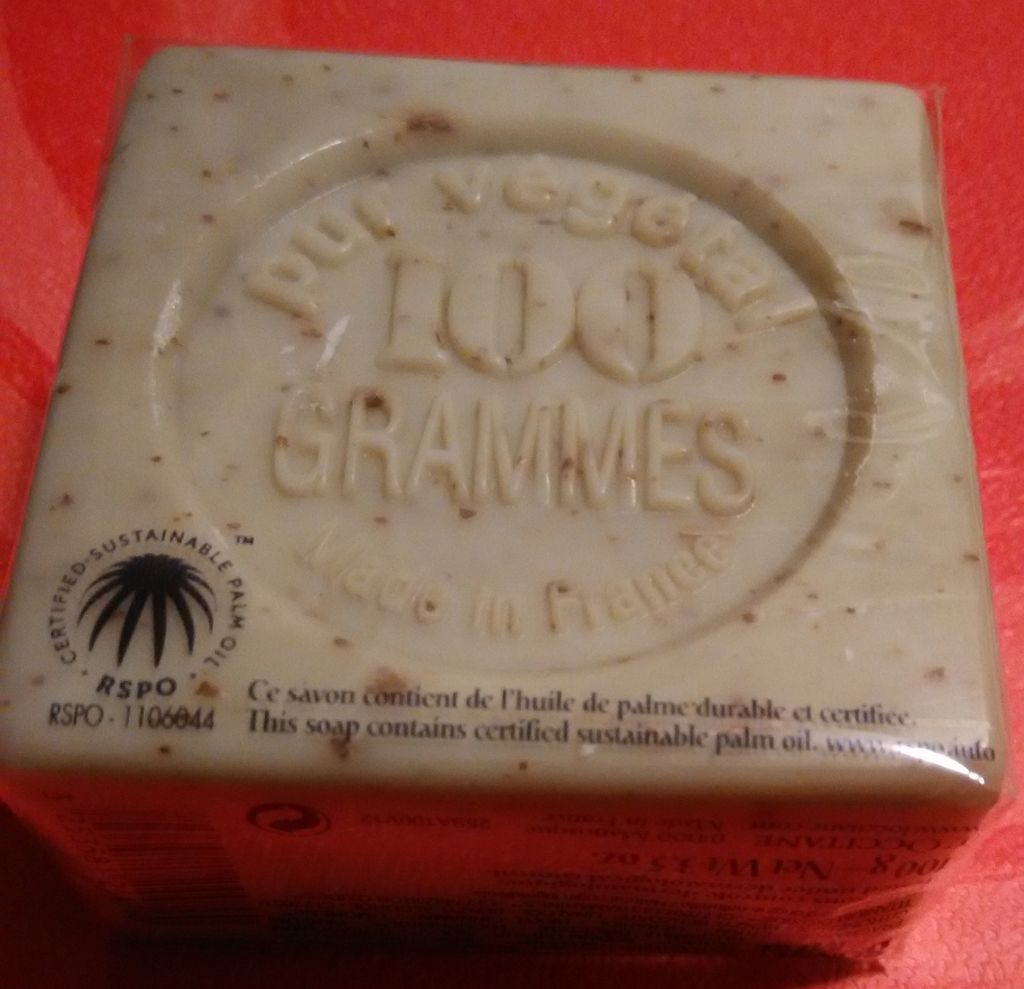
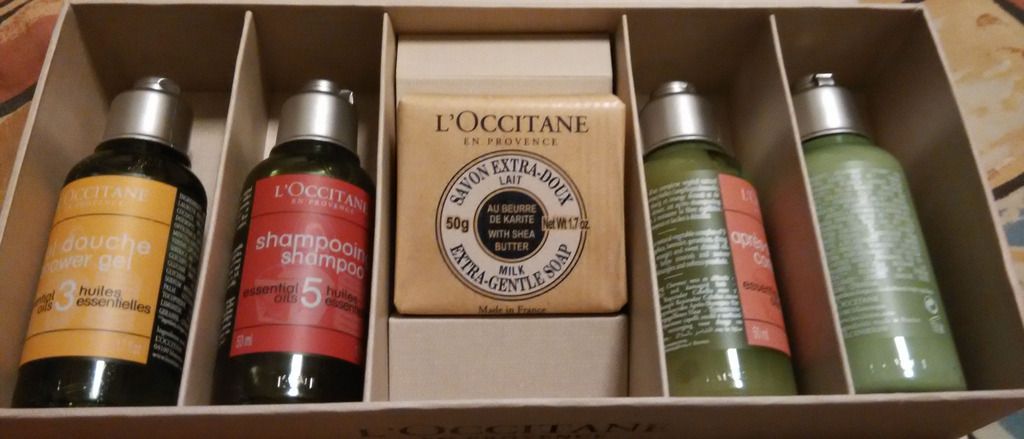
As far as commercial soap goes, the sales assistant at L'occitane told me that their soap goes through at least two years of curing before they are sold.
EXPIRY DATE
"What about the expiry date?", asked CT, my old school chum.
Now that was a good question. More research was in order. Here's a summary:
Commercial soaps are produced in bulk so they carry preservatives which gave their soaps a 10 years shelf life. The "Best Used Before ..." indication on their label probably addresses the fragrance of the soap which may diminish over time.
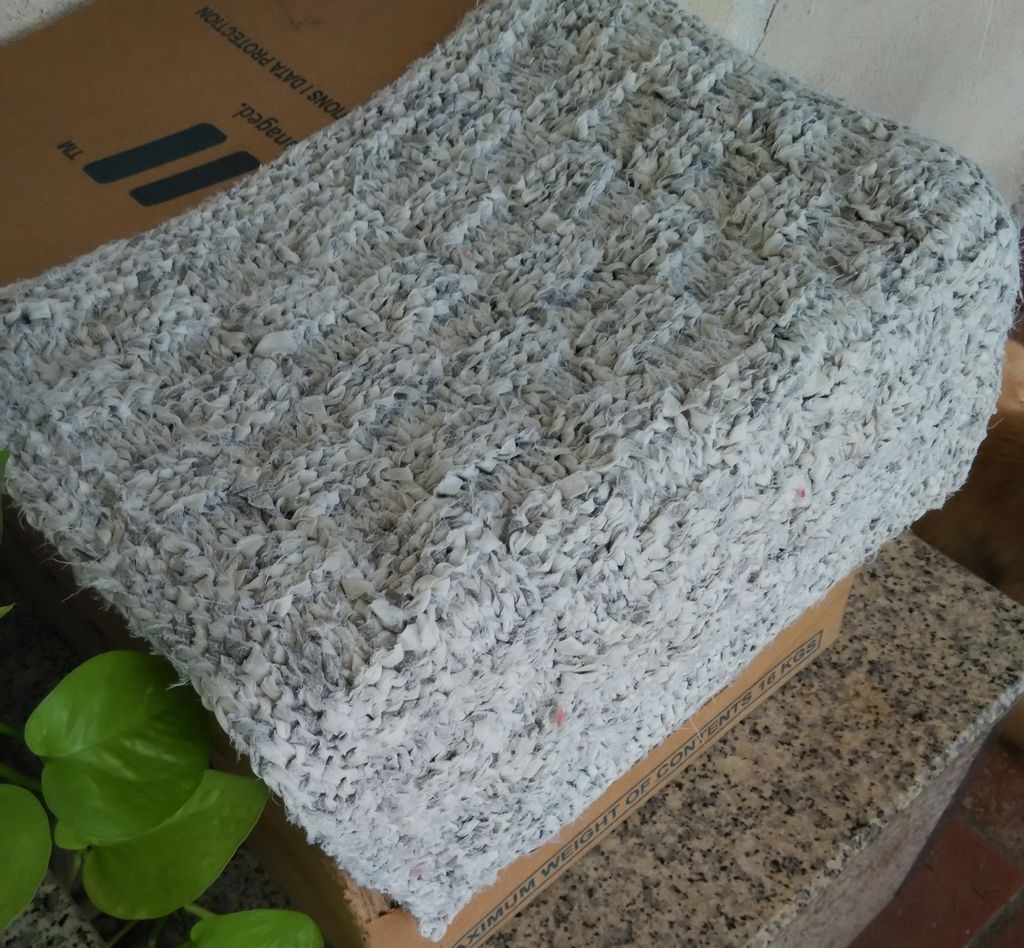
Soaps produced using the Cold Process have no expiry date. The scent will fade but the soap is still good. In fact, Cold Process (CP) soap gets better with age. They are harder and last longer. However, the oil used in your soap have some significance. Some oil (and especially fats) are known to turn rancid. Also, soap containing organic ingredients like flower petals for example, may not have long shelf life since these organic ingredients will disintegrate over time.
Let common sense prevail. If your soap did not look right, smell right, or feel right, get rid of them! If you're thinking of bequeathing your homemade soaps to your illustrious offspring, well - forget it!
While researching the above, I benefited from four new lessons:
- Superfatting ... excess oil not saponified. This gives the soap a moisturizing and gentling effect.
- The soap is alkali. Using it to wash your hair makes them frizzy so if this is part of your hair care regime, neutralize with vinegar after each wash.
- Castor oil. They make your soap lumpy
- Bubbles. In commercial soaps, *SLS created the bubbles. In handmade soaps, the bubbles comes naturally. (*Sodium lauryl sulfate)
Life ... it can be interesting!